


If you’re a coffee enthusiast, you’ve probably heard of the Moka pot. This classic Italian coffee maker, also known as a stovetop espresso maker, brews a short more intense coffee that’s similar to espresso (but technically isn’t). Whether you’re new to the Moka pot or looking to perfect your technique, this guide will take you through every step of how to make coffee in a Moka pot.
1. Understanding the Moka Pot
Before diving into the brewing process, let’s get to know the Moka pot. It’s a three-chambered device made of aluminum or stainless steel. The bottom chamber (base) holds water, the middle chamber (basket) contains the coffee grounds, and the top chamber collects the brewed coffee. Simple, right?
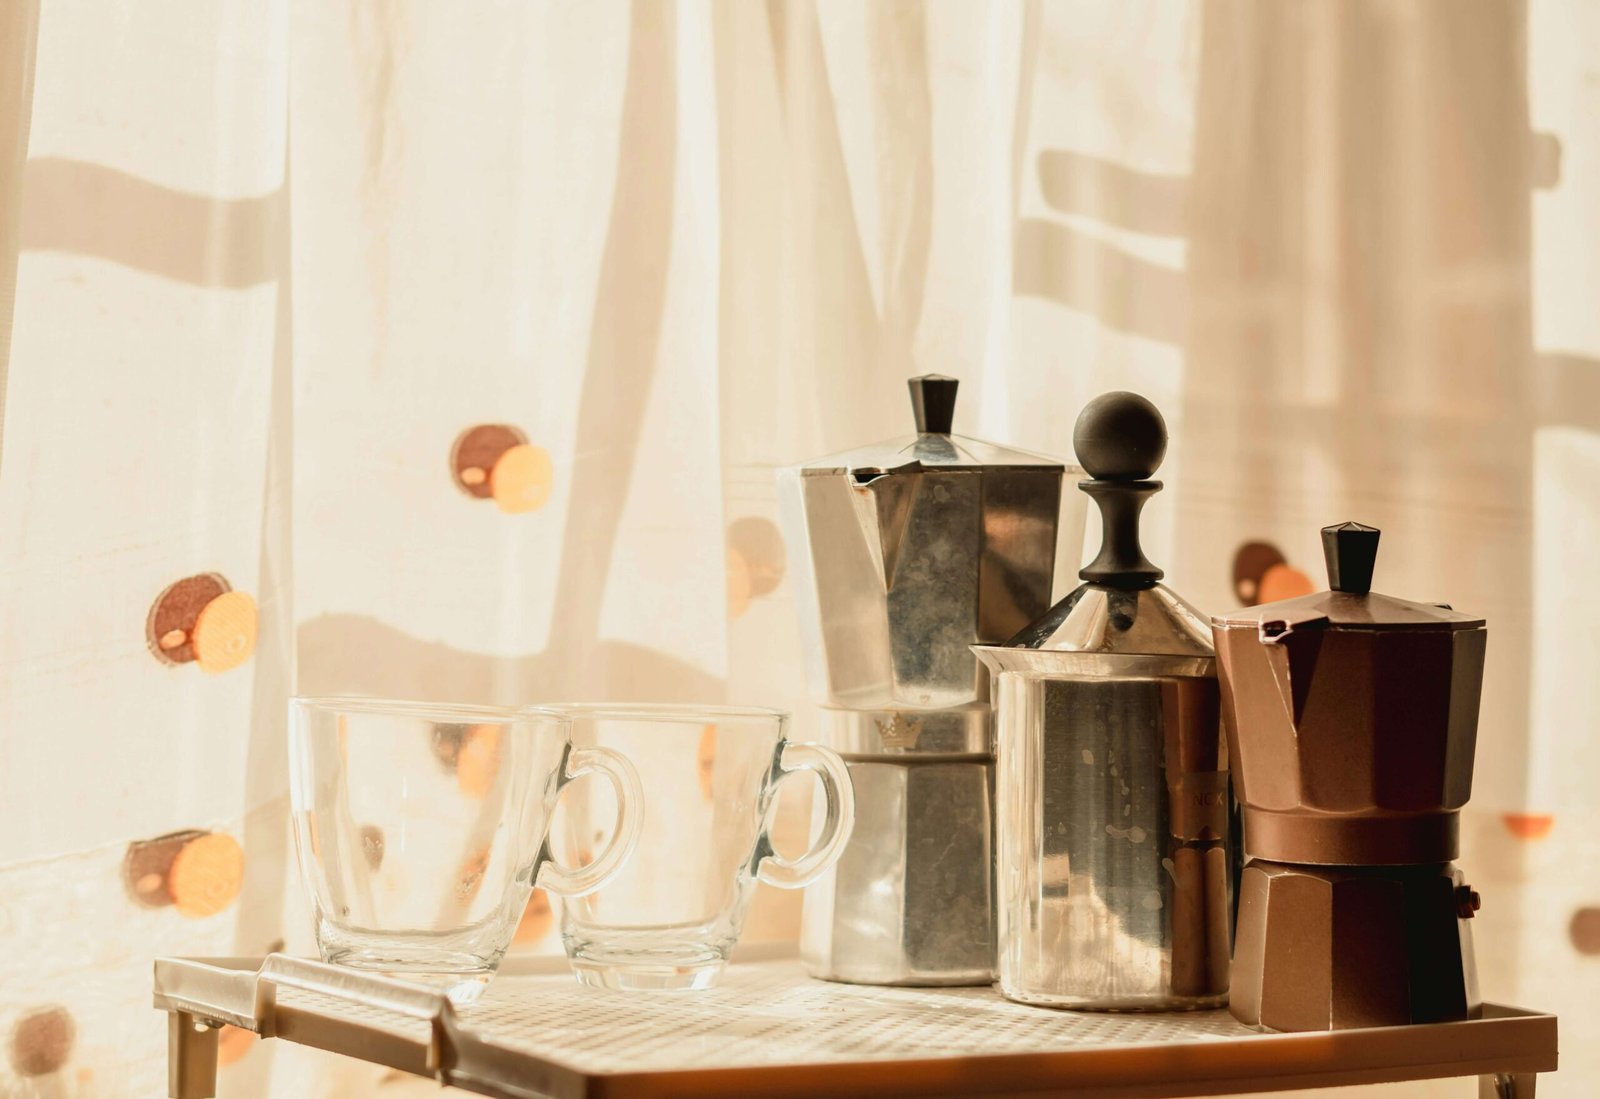
2. Choosing the Right Moka Pot
Now what Moka Pot to buy? Don’t be fooled by the meaning of 3-cup or 6-cup! Moka pots come in various sizes, usually measured in cups. A 3-cup Moka pot brews about 6 ounces of coffee, while a 6-cup pot makes around 12 ounces. Consider how much coffee you typically drink and choose accordingly.
If the Moka doesn’t sound like it is for you then perhaps you can explore some of the other coffee-making methods. Find out How To Make Great Coffee At Home
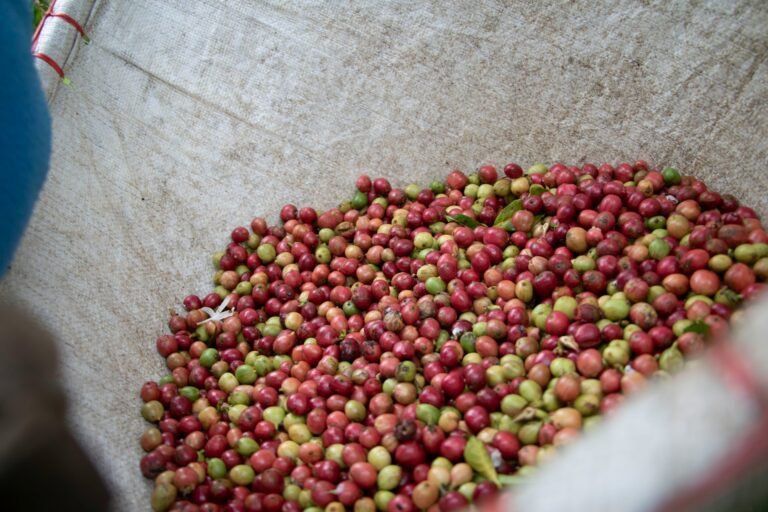
3. Selecting Your Coffee Beans
Great coffee starts with great beans. For a Moka pot, you can use light to medium or medium to dark roasts, I like using coffee beans that are roasted for espresso. Your lighter filter coffee roasts may prove more tricky to get right but I sure have done it and love to try and just see what result I end up with. Always use freshly ground coffee for the best results.
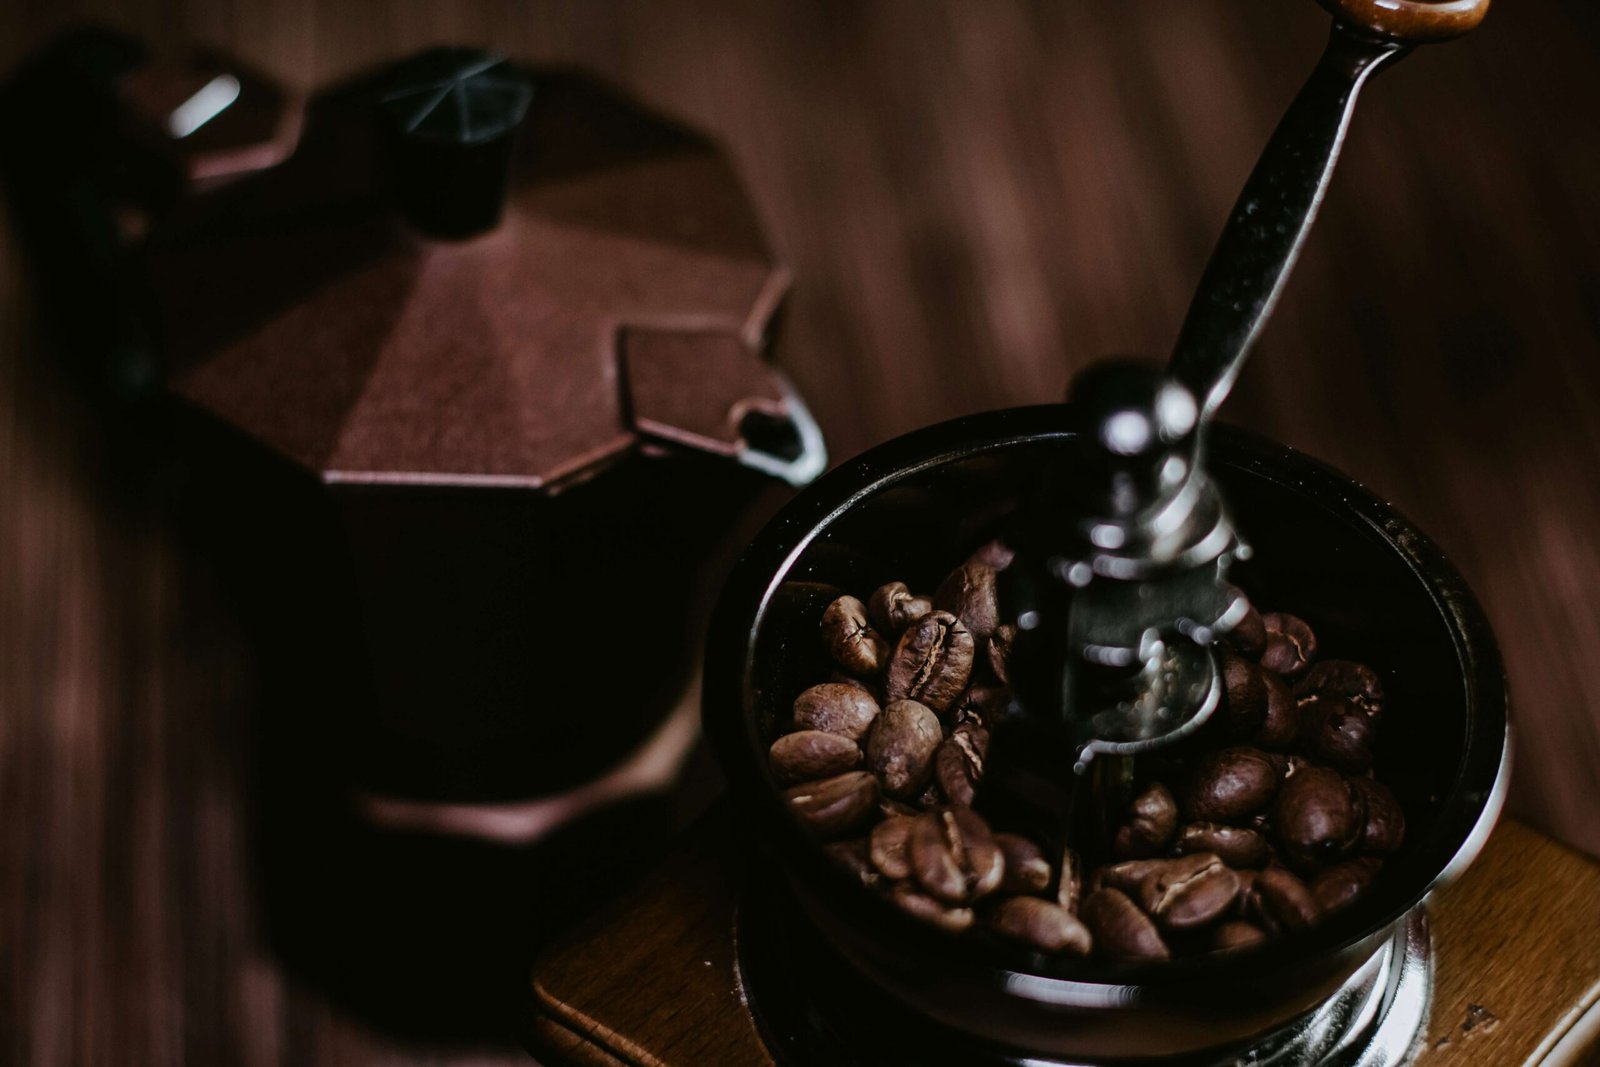
4. Grinding Coffee For Moka Pot
The grind size is crucial. Too fine, and your coffee may taste bitter; too coarse, and it may be weak. Aim for a grind slightly finer than table salt. Try to get it finer than you would for a V60 (drip coffee) but not as fine as expresso. Grinding your own coffee is the best way to get the best result. Grinders can have a larger price tag but consider a hand grinder while you save up for an electric one.
5. Measuring the Coffee and Water
Coffee: Fill the coffee basket with your ground coffee, leveling it off without packing it down. I don’t bother too much with weighing my coffee grounds as this will differ depending on the coffee you use. Lightly roasted coffee weighs more than darker roasted coffee.
Water: Precision is key to a perfect brew. Fill the bottom chamber with hot or boiling water up to just below the safety valve. If you are using a dark roast try using slightly less water for a smoother coffee at the end.
6. Assembling the Moka Pot
Assembling the Moka pot is straightforward. Ensure the filter and gasket are in place, then screw the top and bottom chambers together tightly. Make sure to use a tea towel to hold the base as it will be hot from the water you’ve just put in. Make sure it’s secure, but don’t over-tighten.
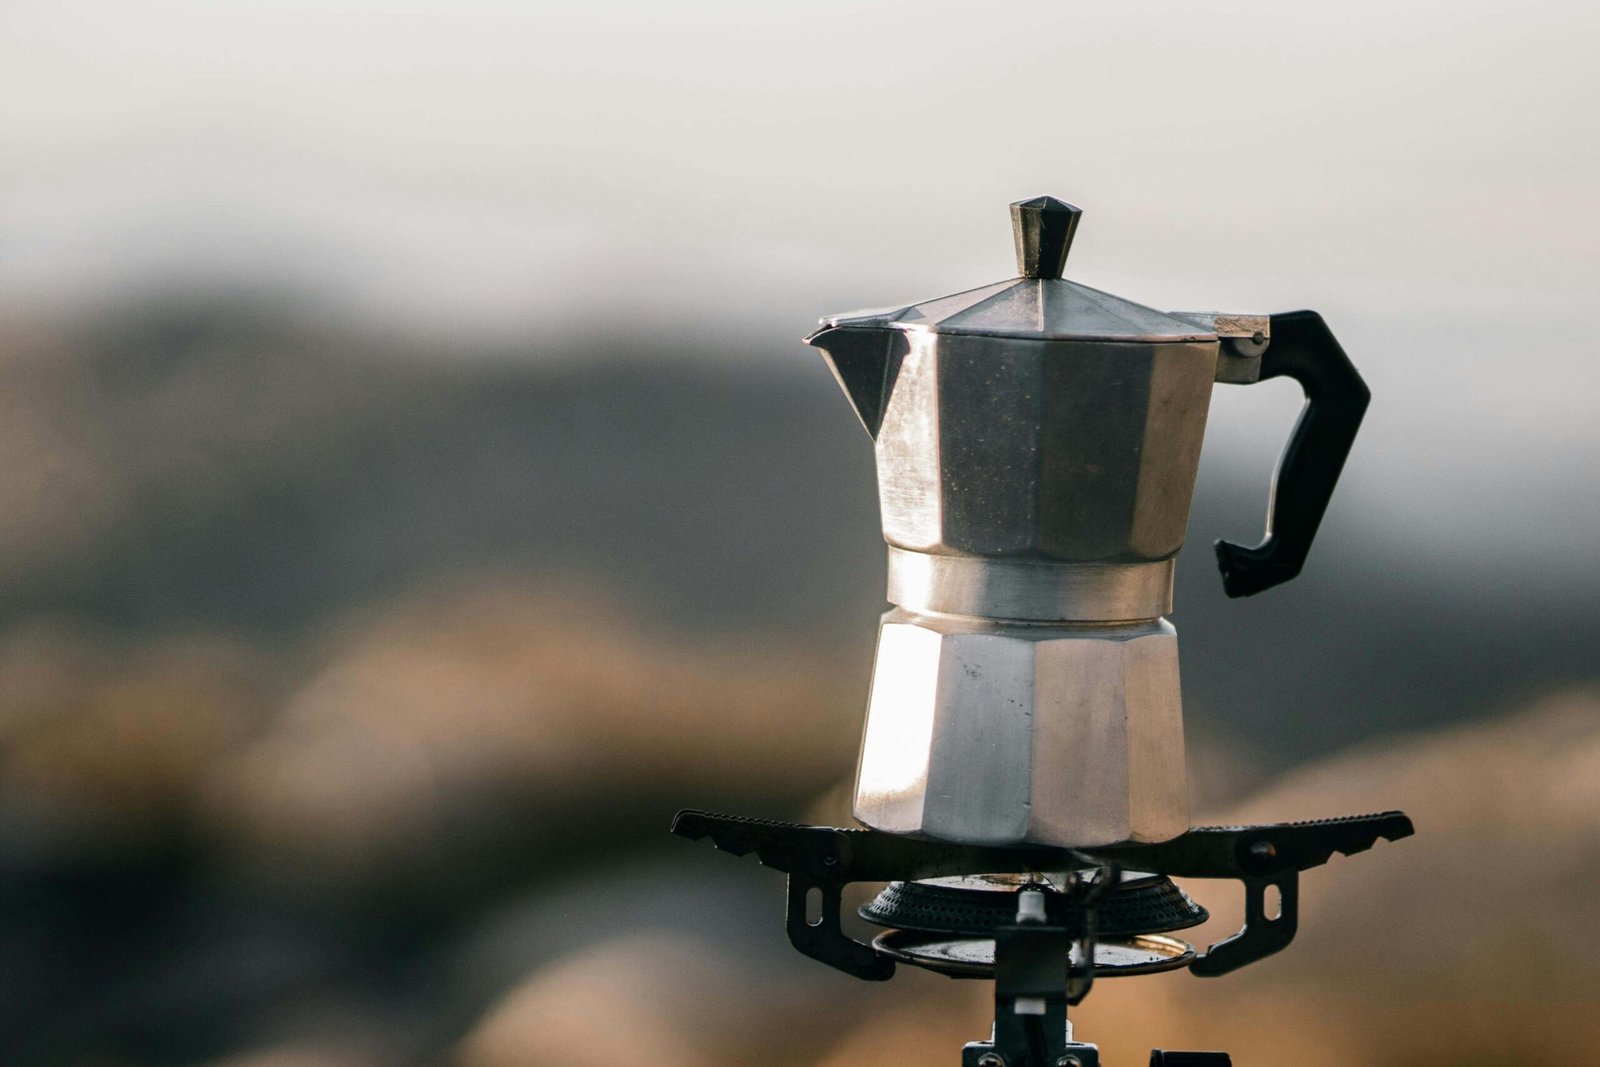
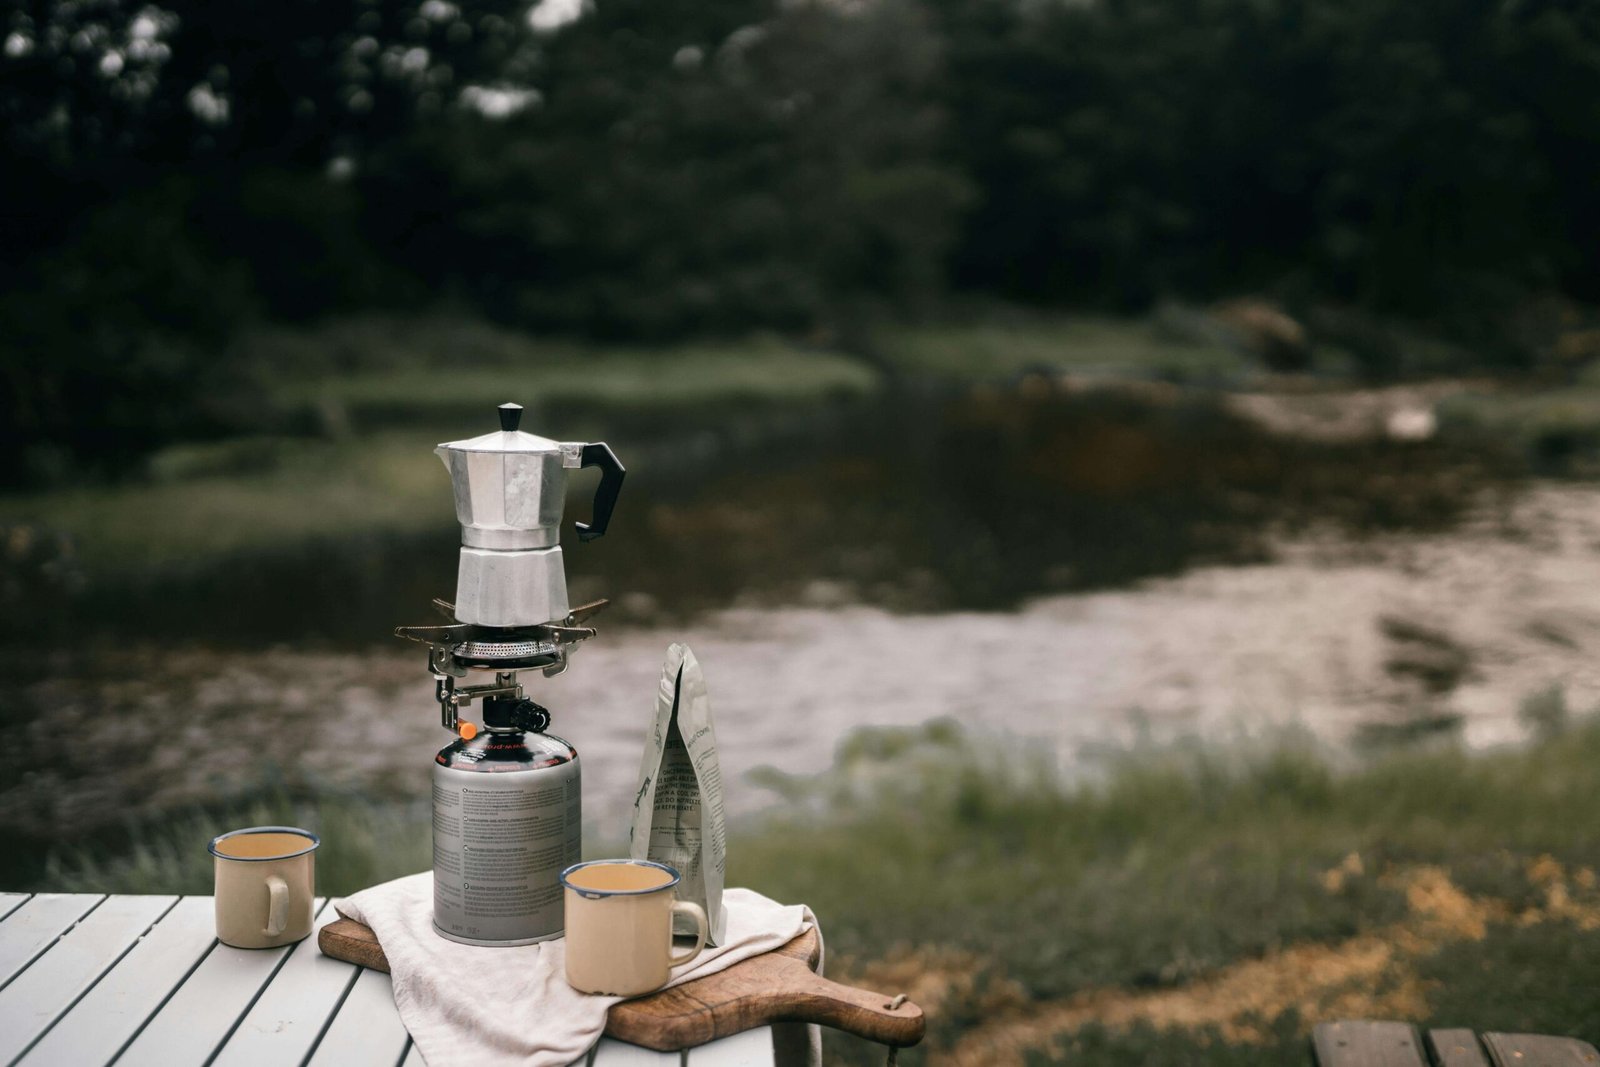
7. Heating the Moka Pot
Place your Moka pot on a medium-low heat. Patience is essential here. If the heat is too high, your coffee may brew too quickly and taste burnt. If it’s too low, it may take forever to brew.
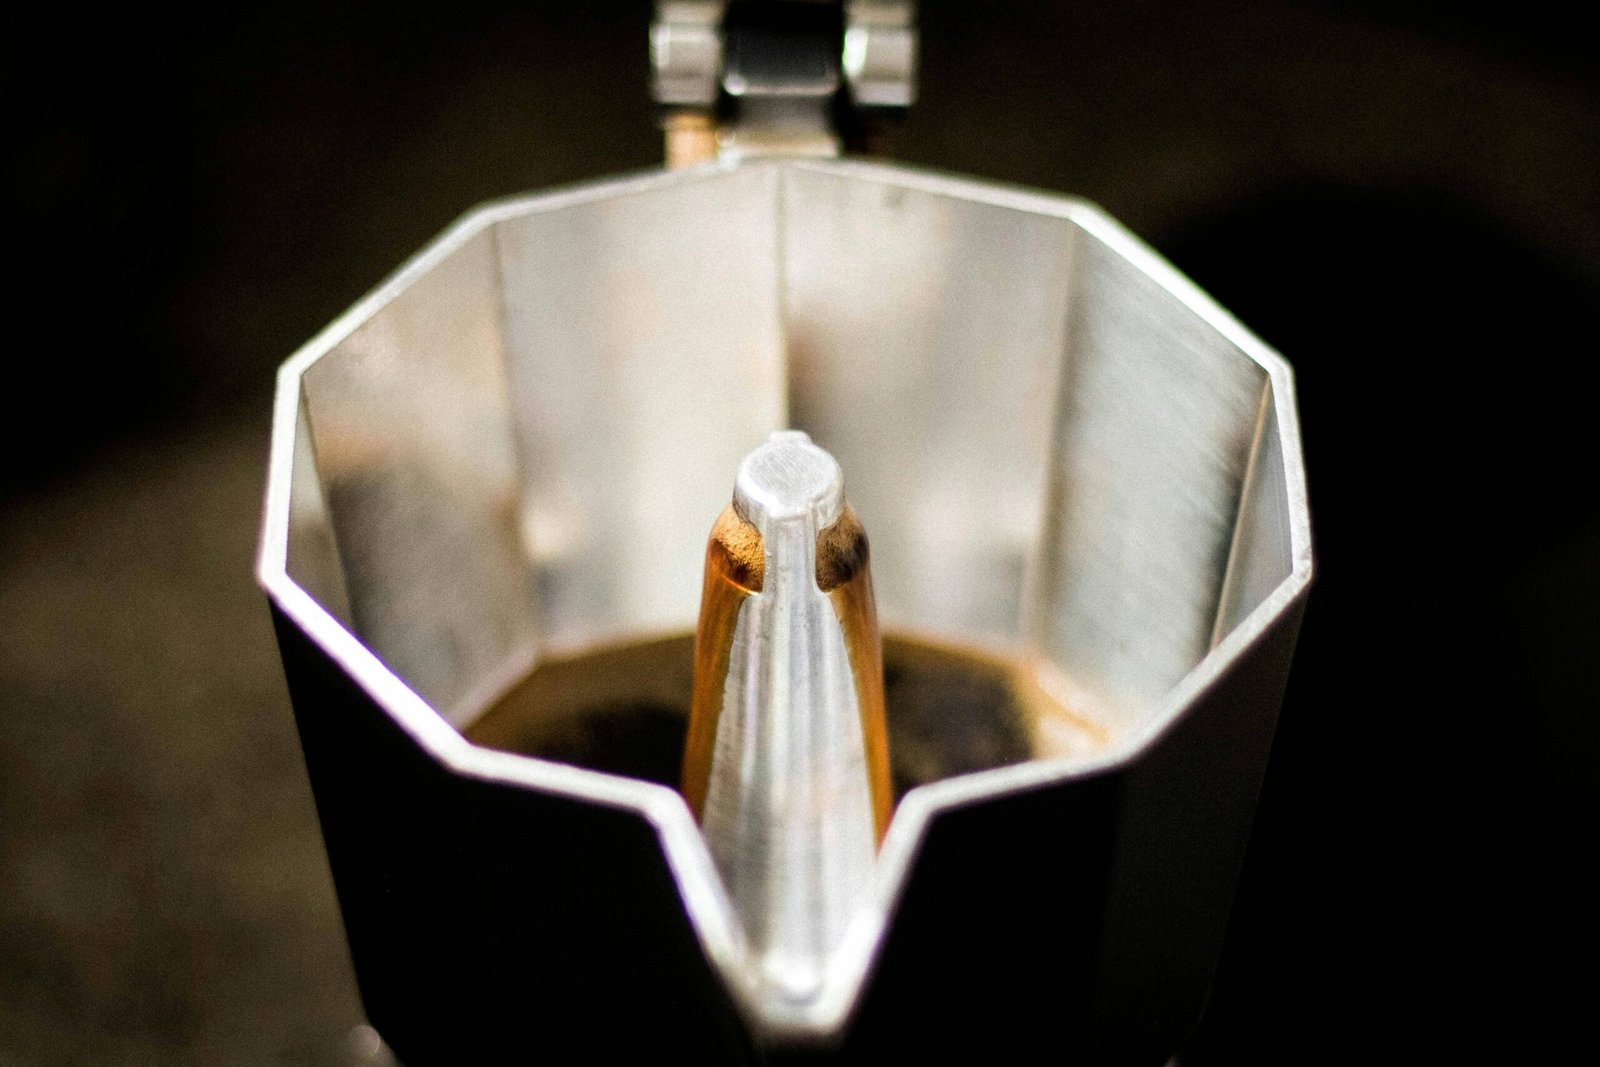
Open the lid to watch it brew.
As the water heats, it creates steam pressure that pushes the water through the coffee grounds and into the top chamber. You’ll hear a gurgling sound when the coffee starts to flow. It’s like magic, isn’t it?
This is your cue to reduce the heat or remove it from the heat source. We want just enough heat to keep the coffee flowing through the top slowly and not boiling.
9. Removing from Heat
Once you hear a hissing sound or see spluttering remove from the heat immediately. Don’t wait until the pot is completely full, as this can lead to over-extraction and bitterness.
If your pot is spluttering too much at the end you can run the base under some cold water to cool it down more quickly.

This is spluttering. Indicating the end of your brew or using too much heat.
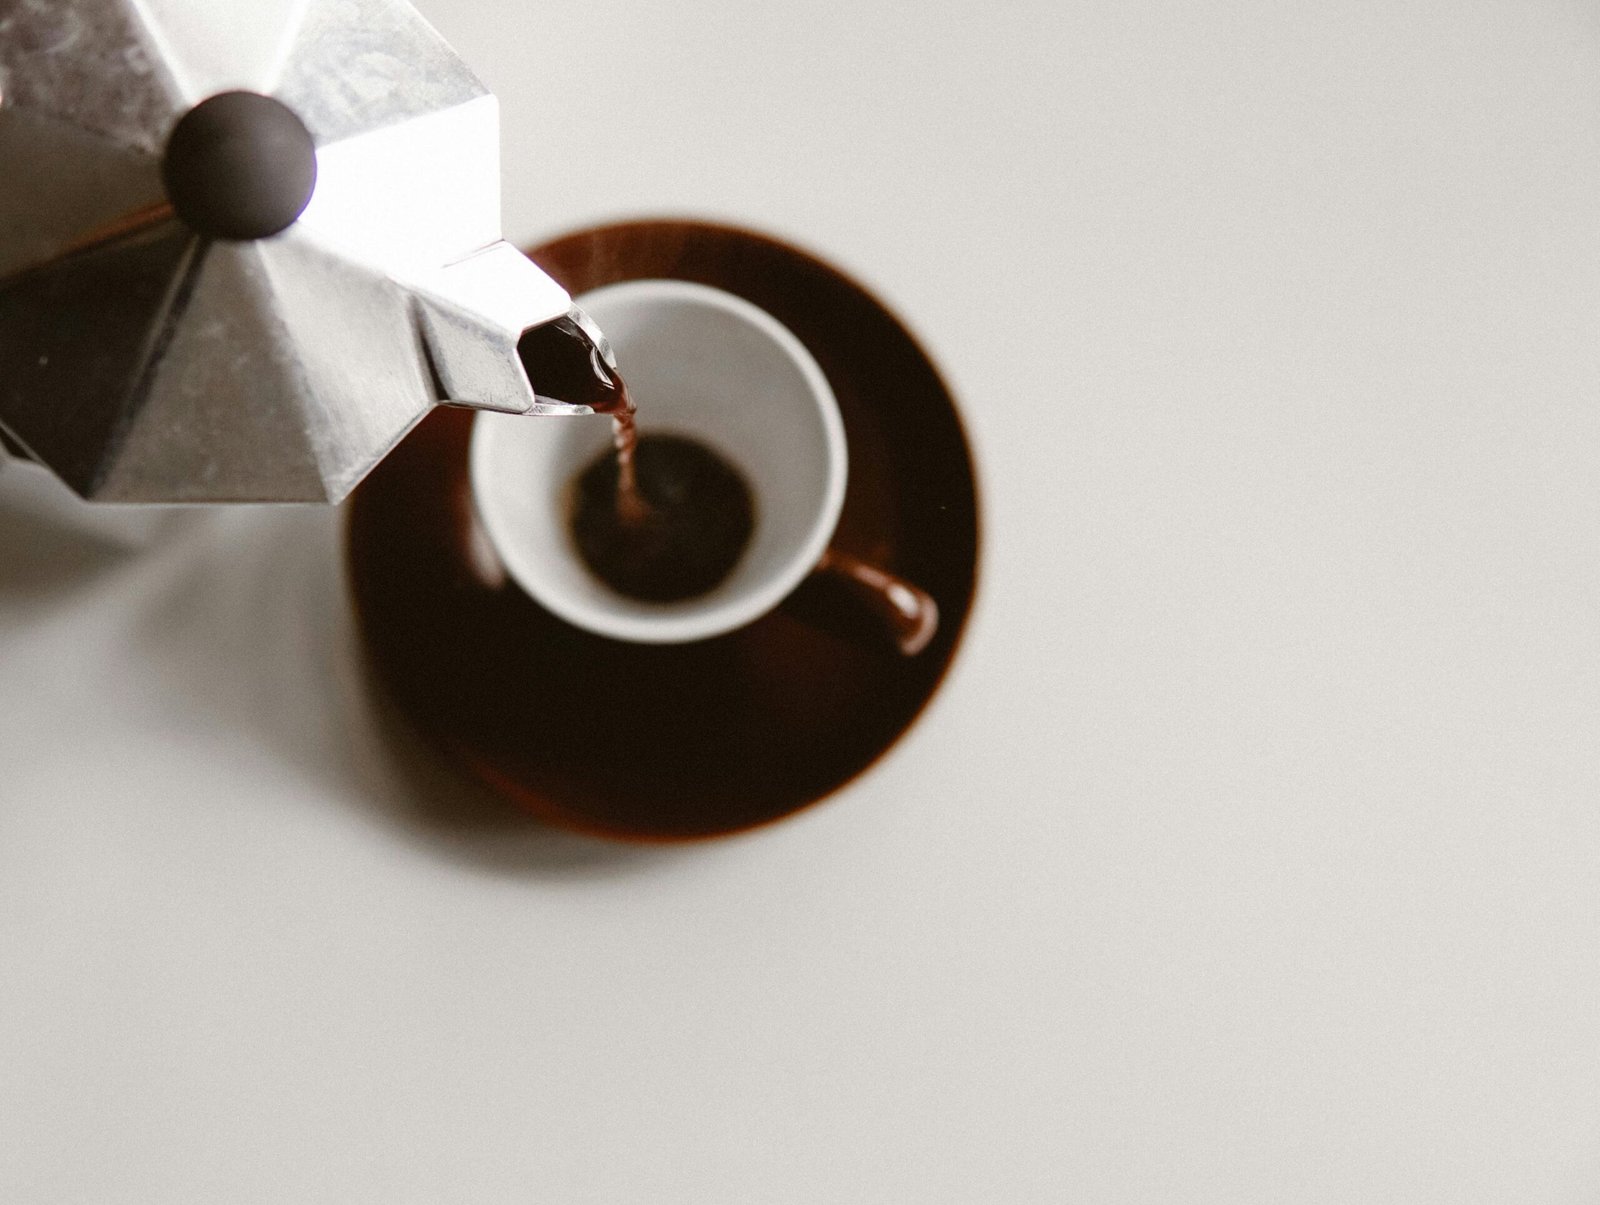
10. Serving the Coffee
Pour your freshly brewed coffee into your favorite mug as soon as possible. The pot is very hot and the longer it sits the more bitter it can get. Some people like to stir the coffee in the top chamber before serving to mix the layers and balance the flavors.
11. Enjoying Your Coffee
Take a moment to savor your Moka pot coffee. You can have it as is or add some hot water to make it something like a long black. You can even steam up some milk and use this coffee as the base for a milky drink.
12. Cleaning the Moka Pot
Cleaning your Moka pot is essential for maintaining its performance. Allow it to cool completely, then disassemble and rinse each part with warm water. Avoid using soap, as it can leave a residue that affects the flavor of your coffee.
13. Troubleshooting Common Issues
Not getting the coffee you expected? Here are some common issues and their fixes:
- Bitter Coffee: Try a coarser grind or slightly less coffee.
- Weak Coffee: Use a finer grind or more coffee.
- Slow Brew: Check the grind size and ensure the pot is tightly sealed.
14. Experimenting with Your Moka Pot
Don’t be afraid to experiment. Try different coffee blends, grind sizes, and brewing times to find your perfect cup. Every small tweak can make a big difference. And remember you’re trying to find and make the coffee you like to drink.
15. Advanced Tips for Moka Pot Brewing
Looking to take your Moka pot skills to the next level? Here are some advanced tips:
- Use a Filter: Use an AeroPress paper filer on the bottom of the top chamber to get an even cleaner cup. Just wet it a little to help it stick.
- Use Filtered Water: Water quality can affect the taste of your coffee. Filtered water can make a cleaner, better-tasting brew.
- Cool the Pot: After brewing, running the bottom chamber under cold water can stop the brewing process quickly, preventing over-extraction.
FAQs
- How much coffee should I use in a Moka pot? Fill the coffee basket to the top without packing it down. This is usually about 1 tablespoon per cup size of your Moka pot.
- Why does my Moka pot coffee taste bitter? Bitter coffee can result from over-extraction. Try using a coarser grind or removing the pot from the heat sooner.
- Should I get a Stainless Steel or Aluminum Moka pot? Aluminum is the classic and more affordable, although some research has been done on long-term health issues. Stainless Steel is durable and many of them can also be used on an induction stove.
- How do I clean my Moka pot? Disassemble the pot and rinse each part with warm water. Avoid using soap to prevent residue build-up that can affect the flavor.
- What type of coffee is best for a Moka pot? All coffee. It comes down to preference. The most important step is the grind size. I’ve often been surprised by a coffee that I thought would not work at all. Experiment and maybe you’ll find the rich, bold flavors that a Moka pot can produce.


Thanks, using the filter was great. I don’t get bits in my coffee anymore.
That’s great. Glad you found the tip useful.